Rivet count: 1819 + 14 new = 1833

Those two little instructions… disassemble and deburr…. It seems like I’ve been doing nothing but that the last couple of build days. In reality, I’m was also scanning ahead to do the dimpling and priming specified on the next couple of pages, but it seems like my entire routine was to uncleco a part, finish the deburring, dimple, and prime.

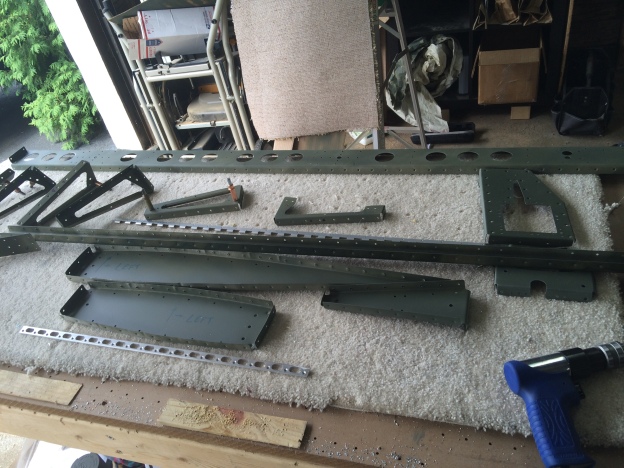
I had pretty much finished the left elevator (except the trim tab) except for the skins and countersinking the trailing edge. How much work could it be to finish it all up?
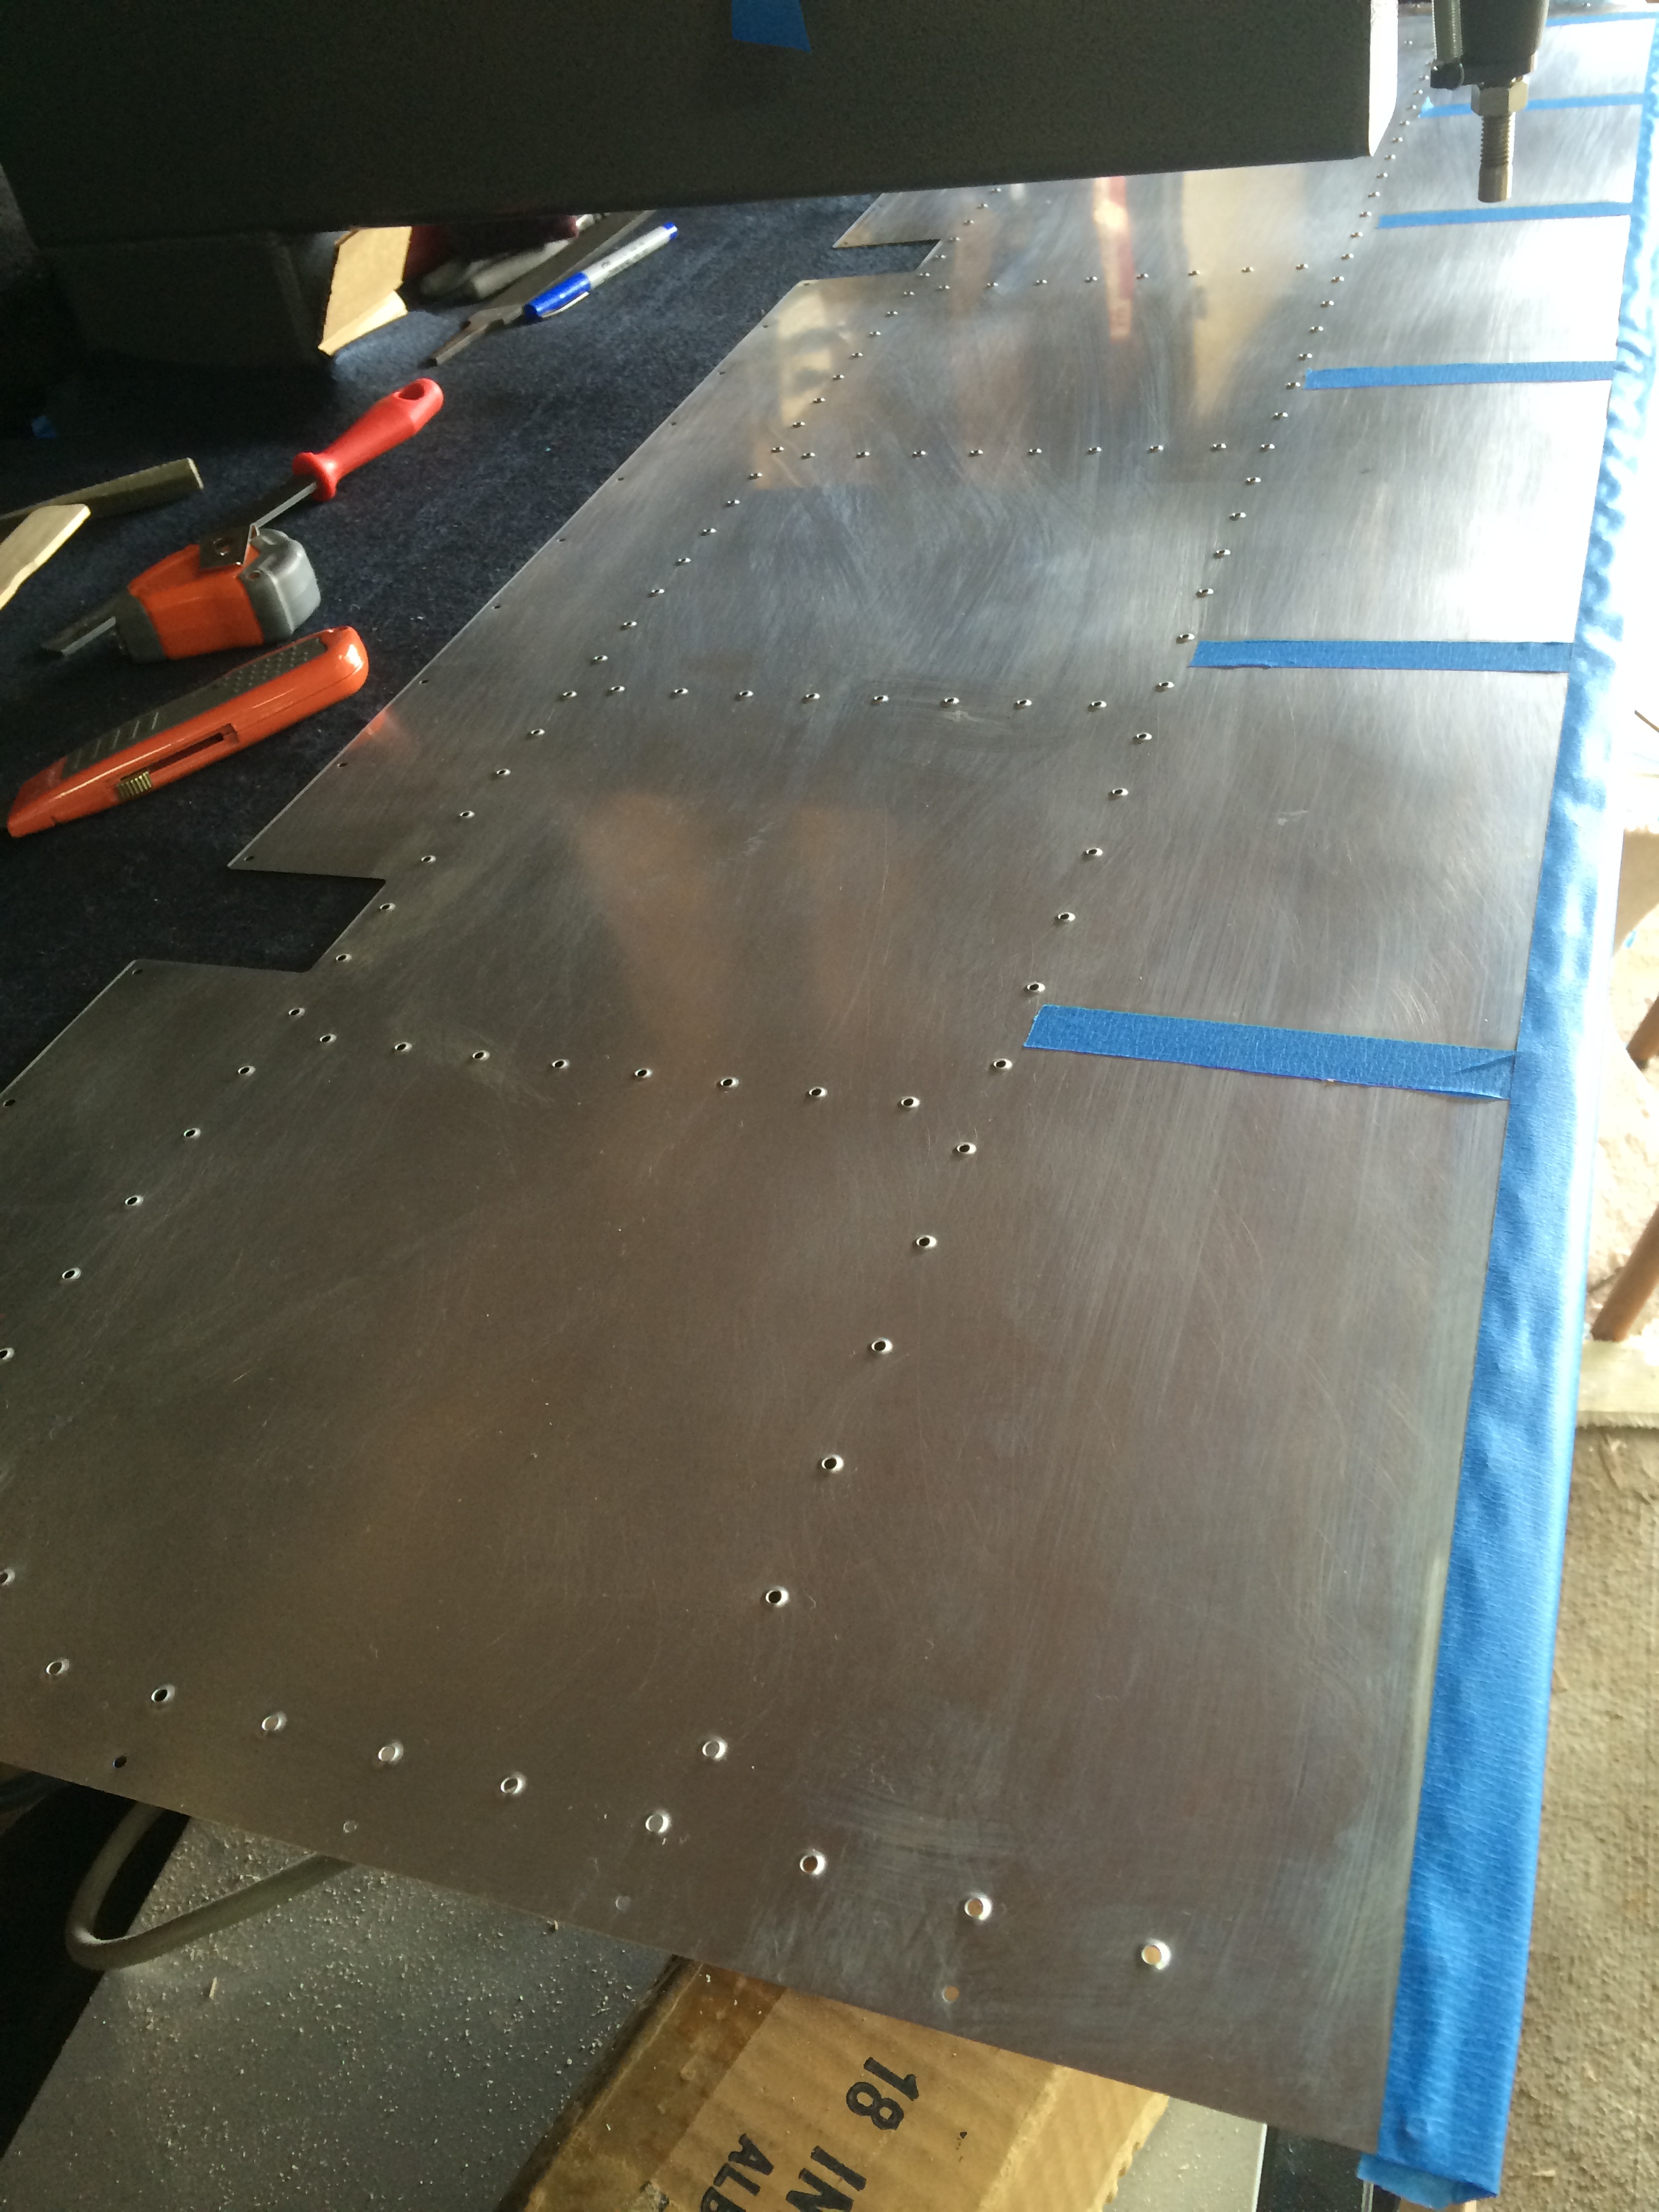
The answer, of course, is more than I thought. As I started to go through the parts more closely, I realized that I hadn’t dimpled the ribs yet. So I got those done. The skins had to be smoothed and dimpled, but they also had to be scuffed and masked before priming to leave an area for bonding the foam ribs. Just lots of details!
Getting the trailing edges countersunk was a chore because you couldn’t use a standard countersink bit because the cut had to be perpendicular to the face. Vans suggests grinding down the standard pilot on a countersink. Instead, I put my 5-bladed deburring bit in a cage and carefully cut each countersink. The cage kept it perpendicular, but with no pilot I had to watch each cut carefully.
Finally, by mid-day, I had both elevators done. Yay!

With all that done, I flew through the next few pages making sure that I had appropriately dimpled and countersunk all the pieces during my look ahead.
At last it was time to do a bit of assembly! You start with the nut plates in the trim tab motor bracket. The instructions call for dimpling the skin and countersinking the plates, but the conventional internet wisdom is to use NAS 1097 “oops” rivets. The rationale is that the only purpose of the rivets is to keep the plate from rotating. Since they aren’t required for structural strength, anything will do. The 3/32″ rivets have a tiny head, almost no bigger than the shaft. I used my deburring bit in a handheld deburring tool to cut the very small countersinks. The interwebs said “a few turns” would cut it sufficiently. I found it took some effort to get the cut deep enough (though I was checking depth often with a rivet). The AD3-3.5’s seemed the right length (confirmed with my rivet gauge). I found that these were much easier to hand squeeze than to pneumatically squeeze. The part is very light and a bit awkward to clamp and the rivets are so lightweight that it just worked easier that way.

The next step is to assemble the trim tab motor arm. You rivet this using the “double flush” back riveting technique. The instructions call out a AN426AD3-3.5 rivet, but that was very much too short, so I used 3-4 rivets instead. The flush look was very easy to achieve on my back rivet bar.

Looking ahead to how it is actually used, though, it is supposed to have two small bends in the attachment arm (they are marked in the plans). On my part, they are not bends, but rather a gentle spreading. I will contact Vans to see what they think. I can either make the bends myself on my brake (my father-in-law just gave me his old mini-brake. Thanks Dad!) or get Vans to send me a new one. Cutting and re-doing is a trivial task.
Then, just when you get back into the swing of assembly, you have to go back and prep the parts for the trim tab. I pulled out the skins and spars and trailing edge and did the finish work. Not much to do, actually, just measure and cut the trailing edge and deburr/mask/prime/dimple the other parts as before.

At this point, the trim tab is mostly ready to go. Next up, I will continue the assembly up to the point where I need to use the Pro-seal bounding to hold the foam ribs and trailing edge in place. I would like to do that in one messy batch if possible.
