
I left off last week working on the ribs. This week features more of the same!
First up was assembling the torque tube supports and the flap assembly support. These will get riveted onto certain ribs a bit later, but for now, they need to be assembled for final and match drilling (and a couple of dimples). As with most things in this kit, it is a case of put it together, drill, take it apart, deburr, put it back together.
So, first I assembled the torque tube bracket….
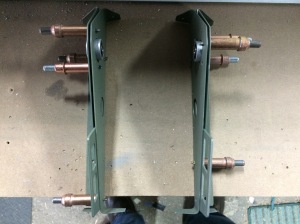
I drilled and then disassembled it (being careful to mark the parts for easy reassembly — there is an orientation mark on each of the bearings so I can line them up again).
I did some finish work on the rib flanges. Each really needed to be smoothed with the file before running it through the Scotch-brite wheel.

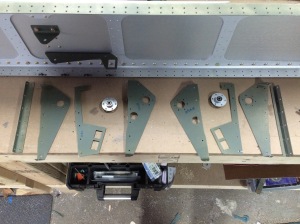
The brackets then get clecoed to the inboard-most rib for some final drilling.
The flap assembly requires a bit more care. There are two for each wing and the parts have left and right orientation. I decided to very loosely mount the ribs on the spars so that I could keep the orientation straight in my head (and compare it against the illustration for the left pair from the plans). It took me a couple tries to get all pieces turned the right way for the right wing, but it emerged as a proper mirror image to the left, so all is good. Each is very carefully marked so I can put them back together in the same order.
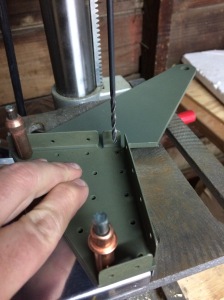
The brackets get clecoed to the ribs using a couple of alignment holes. Then the rib gets match drilled using the flap hinge brackets as a guide. I did these on the drill press with a #30 bit (and then followed up with a #30 reamer).
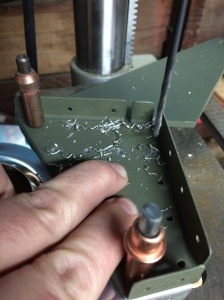
I realized that I had prepped all the W-1010 and W-1011 parts, but not the 6 W-1012 parts. My son stopped by after skating to help me finish those. Two of these get pulled out to get their rear flanges cut off. Alas, I cut the front flange off of the one for the right wing. A totally stupid mental error. That ruined rib became the first part of my plane to officially fly as I threw it across the room at the scrap heap.
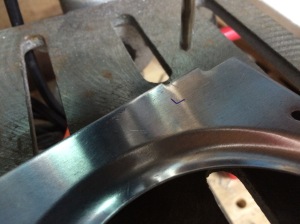
I drilled the ground lug holes in the two inboard ribs. It was a pretty easy mark to hit with the drill press.
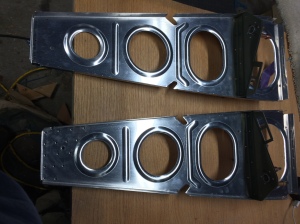
The next step is up-drilling the holes for the snap bushings. The right wing is pretty easy (all are 1/2″ holes). The left wing is a bit more confusing. I decided it would be safer to take it slow and temporarily hang all the ribs off the spars to get the order right. I’ll then take them off one at a time to step drill, final deburr, dimple the top flanges (except for the wing walk), mark and prime. It’s the only way I think I can keep it straight.
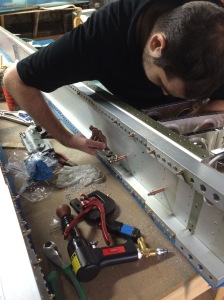
The best part is that the wings are looking a lot more real! (even if I have to take it all apart again!).

